CSS는 선택자를 이용하여 HTML 엘리멘트를 선택해서 꾸미는 것.
CSS를 자세히 보다 보면 *, . , #들로 시작한다.
태그 선택자
선택자를 작성하는 규칙
1
|
H1 { font-size : 10px ; color : red ; }
| cs |
이 것이 의미하는 것은
H1은 선택자의 이름이 된다
H1 라는 선택자를 {}로 묶어줌으로써 정의를 한다
font-Size는 속성 이름이 되고 10px는 속석 값이 된다
속성 이름과 속성값은 :로 구분을 지어준다
또한 각각의 속성을 세미콜론(;)을 통해 구분을 지어줌으로써 여러개의 속성을 줄수 있다.
선택자의 이름을 지정할 때 HTML 태그 중 하나가 될 수도 있고, 직접 이름을 지어줄 수 있다.
클래스 선택자 (.)
클래스 선택자를 지정하는 법
1
2
3
4
5
6
7
8
9
10
11
12
13
14
15
16
17
18
19
20
21
22
23
24
25
|
<!DOCTYPE>
<html>
<head>
<meta http-equiv='Content-Type' content='text/html ; charset=utf-8' />
<title>Jquery 세상에 오신것을 환영 합니다.</title>
<link rel="stylesheet" type="text/css" herf="stylesheet/style1.css"/>
<style type ='text/css'>
.align_center {
color: #0094ff;
font-size: 40px;
}
</style>
</head>
<body>
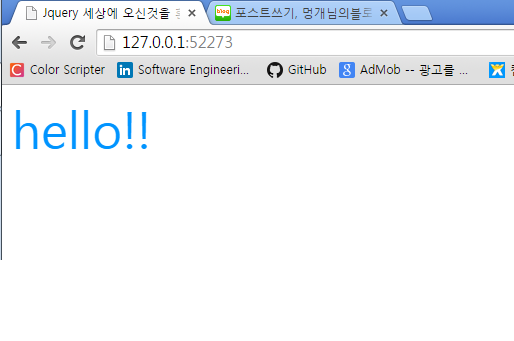
<p class="align_center"> hello!! </p>
</body>
</html>
| cs |
1
|
<p class="align_center"> hello!! </p>
| cs |
<p>태그에 클래스를 부여 해주었다.
1
2
3
4
5
6
|
<style type ='text/css'>
.align_center {
color: #0094ff;
font-size: 40px;
}
</style>
| cs |
클래스를 이용하여 <p>태그가 아닌 align_center클래스 명을 가진 부분만 효과를 준다
클래스를 선택할 때 마침표(.)를 찍어서 표시를 해준다.
클래스 선택자의 특징.
1. 클래스를 만들어 서로 다른 엘리먼트에 여러 번 적용해서 사용
2. 클래스 이름은 반드시 영문으로 시작
3. 원하는 엘리먼트 정밀 제어 가능
아이디 선택자 (#)
페이지 안에서 하나밖에 없는 고유한 엘리먼트를 나타내기 위해 사용
ID 선택자는 중복해서 사용할 수 없다.
1
2
3
4
5
6
7
8
9
10
11
12
13
14
15
16
17
18
19
20
21
22
23
24
|
<!DOCTYPE>
<html>
<head>
<meta http-equiv='Content-Type' content='text/html ; charset=utf-8' />
<title>Jquery 세상에 오신것을 환영 합니다.</title>
<link rel="stylesheet" type="text/css" herf="stylesheet/style1.css"/>
<style type ='text/css'>
#align_center {
color: #0094ff;
font-size: 40px;
text-align:center;
}
</style>
</head>
<body>
<p id="align_center"> hello!! </p>
</body>
</html>
| cs |
id선택자는 샾(#)을 이용한다.
<style type ='text/css'>
#align_center {
color: #0094ff;
font-size: 40px;
text-align:center;
}
</style>
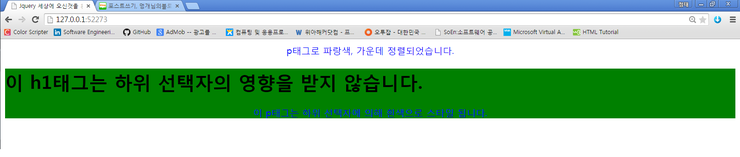
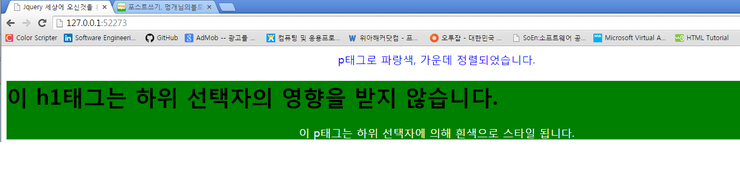
하위 선택자
| cs |
이렇게 코드를 작성하면
| cs |
css부분을 이렇게 해주면
.style_div p 이 의마하는 것은 style_div라는 클래스 안에있는 p라는 놈을 의미한다.
댓글
댓글 쓰기