node.js를 이용한 홈페이지 구축을 해보자...
하하 물론 node.js는 얼추 보긴 했는데
문제는 웹 페이지 제작 능력이 완전 바닥 그냥
깡으로 만들어 봐야겠다 ㅋㅋㅋㅋㅋㅋ
| cs |
일단 그냥 웹 페이지를 제작을 해볼려고 한다. 우선 node로 로그인 기능을 넣어보아야 겠다
머라도 만들어 봐야 실력이 빠르게 늘 것 같다.
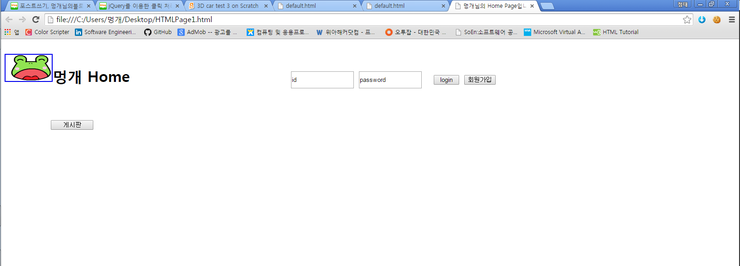
기본적으로 페이지는 이런식으로 구상을 하려고 한다.
일단은 로그인 기능을 만들어야 겠다
로그인 소스는 어디선가 구해놓은게 있다 으하핳 ㅋㅋㅋㅋ
1
2
3
4
5
6
7
8
9
10
11
12
13
14
15
16
17
18
19
20
21
22
23
24
25
26
27
28
29
30
31
32
33
34
35
36
37
38
39
40
41
42
43
44
45
46
47
48
49
50
51
52
53
54
55
56
57
58
59
60
61
62
63
64
65
66
67
68
69
70
71
72
73
74
75
76
77
78
79
80
81
82
83
84
85
86
87
88
89
90
91
92
93
94
95
96
97
98
99
100
101
102
103
104
105
106
107
108
109
110
111
112
113
114
115
116
117
118
119
120
121
122
123
124
125
126
127
128
129
130
131
132
133
|
<!DOCTYPE>
<html>
<head>
<script src="http://code.jquery.com/jquery-1.9.1.js"></script>
<script>
$(document).ready(function(){
// 삭제
$('#btn_remove').on('click',function(){
var ck = new Array();
$('.ck:checked').each(function(index,item){
ck.push($(item).val());
});
$.ajax({
url:'/remove',
type:'GET',
data:{ck:ck},
success:function(data){
alert(data+'삭제');
$('#btn_list').trigger('click');
}
});
});
// 수정
$('#btn_add').on('click',function(){
var id = $('#id').val();
var pw = $('#pw').val();
var name = $('#name').val();
var age = $('#age').val();
var gender = $('#gender').val();
$.ajax({
url:'/add',
type:'POST',
data:{id:id,pw:pw,name:name,age:age,gender:gender},
success:function(data){
alert(data+'님 추가');
$('#btn_list').trigger('click');
}
});
});
// 추가
$('#btn_modify').on('click',function(){
var id = $('#id').val();
var pw = $('#pw').val();
var name = $('#name').val();
var age = $('#age').val();
var gender = $('#gender').val();
$.ajax({
url:'/modifyById',
type:'POST',
data:{id:id,pw:pw,name:name,age:age,gender:gender},
success:function(data){
alert(data+'님 수정');
$('#btn_list').trigger('click');
}
});
});
// 목록
$('#btn_list').on('click',function(){
$.ajax({
url:'/list',
type:'GET',
success:function(data){
$('#list').empty();
$(data).each(function(index,item){
$('#list').append('<tr>');
$('#list').append('<td><input type="checkbox" class="ck" value="'+item.id+'"></td>');
$('#list').append('<td>'+item.id+'</td>');
$('#list').append('<td>'+item.pw+'</td>');
$('#list').append('<td>'+item.name+'</td>');
$('#list').append('<td>'+item.age+'</td>');
$('#list').append('<td>'+item.gender+'</td>');
$('#list').append('</tr>');
});
}
});
});
});
</script>
</head>
<body>
<table border="1">
<thead>
<tr>
<th>id</th>
<th>pw</th>
<th>name</th>
<th>age</th>
<th>gender</th>
<th>추가</th>
<th>수정</th>
</tr>
</thead>
<tbody>
<tr>
<td><input type="text" id="id"></td>
<td><input type="password" id="pw"></td>
<td><input type="text" id="name"></td>
<td><input type="text" id="age"></td>
<td>
<select id="gender">
<option value="m">남</option>
<option value="f">여</option>
</select>
</td>
<td><button id="btn_add">add</button></td>
<td><button id="btn_modify">modify</button></td>
</tr>
</tbody>
</table>
<button id="btn_list">회원리스트</button>
<table border="1">
<thead>
<tr>
<th></th>
<th>id</th>
<th>pw</th>
<th>name</th>
<th>age</th>
<th>gender</th>
</tr>
</thead>
<tbody id="list">
</tbody>
</table>
<button id="btn_remove">remove</button>
</body>
</html>
| cs |
클라이언트 측 소스파일
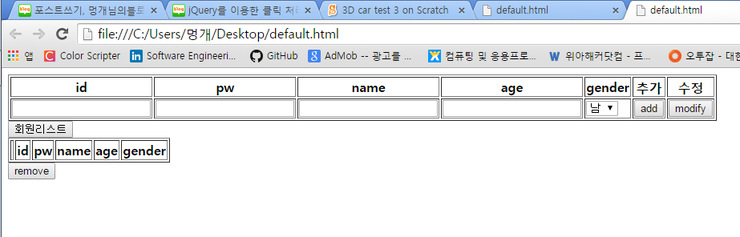
이런게 되어져 있다.
일단 크게잡으면 메인 페이지에서 회원가입을 누르면 이 페이지로 넘어오게 해야겠다.
그전에 회원가입을 했을때 이 데이터가 저장될 DB Table을 만들어야 겠다.
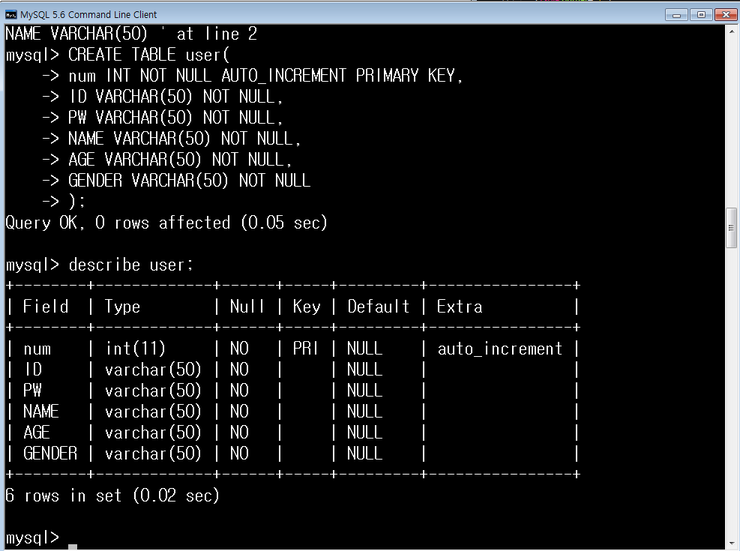
DB 테이블은 잘 만들었다.
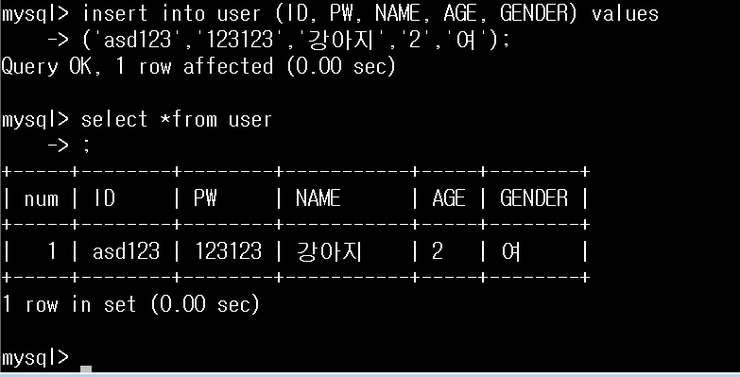
기본적으로 값을 그냥 넣어봤다
어디선가 주어온 소스 내용에 맞춰서 디비를 만들었다.
DB 생성 끝
회원가입 페이지로 넘어가면 이 DB에서 자료를 꺼냈다 뺐다가 해야겠군..
이 두개의 페이지를 어떤식으로 연결을 시킬것인가.......
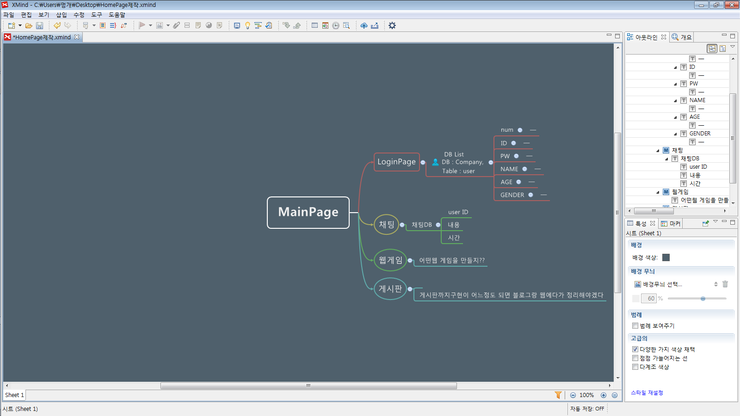
대충 이런식으로 구성 할 생각....
채팅은 기본적으로 구성은 해뒀고
웹 게임을 제작을 해보고 싶은데 어떤 웹 게임을 만들지.....
흠...........
로그인 부분만 구현 끝나면 게시판이랑 채팅부분은 금방 구현할거 같은데
웹게임이 문제네

댓글
댓글 쓰기